
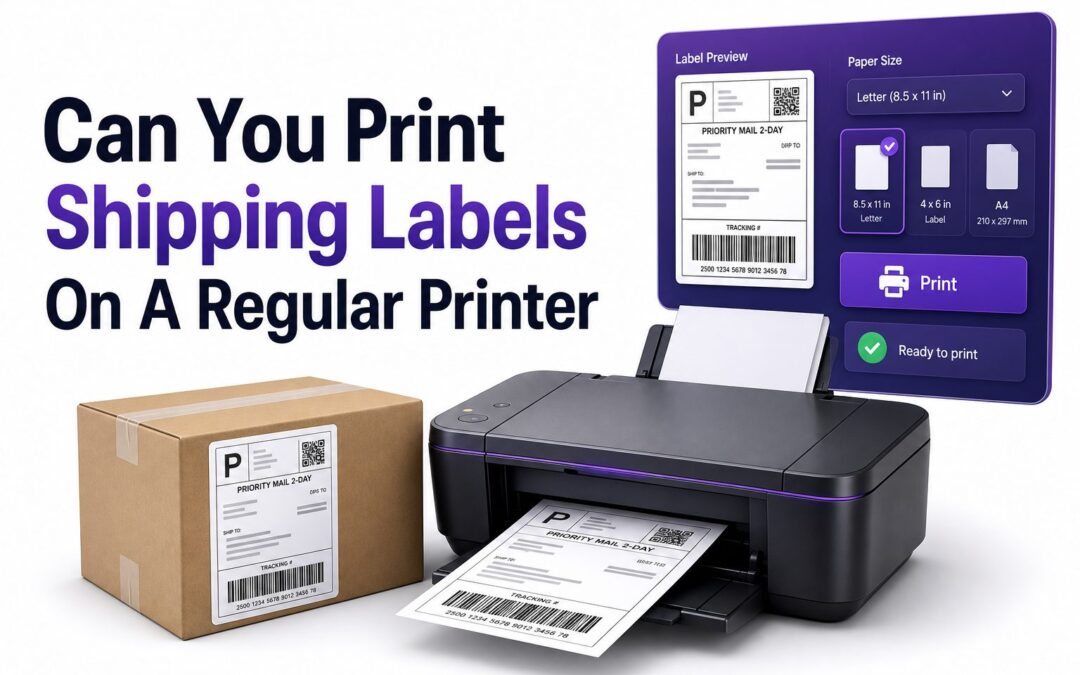
Can you print shipping labels on a regular printer is one of the first questions people ask when they start selling online, mailing returns, or shipping packages from home. The short answer is yes. You do not need a special label printer to create a usable shipping label, as long as your regular inkjet or laser printer produces a clear, readable result.
What matters most is print quality, label size, paper choice, and how securely the label is attached to the package. Carriers such as USPS, UPS, FedEx, and DHL rely on barcodes, tracking numbers, and addresses being easy to scan. A regular printer can handle that job well when you use the right settings. This guide explains how to print shipping labels at home, what materials work best, common mistakes to avoid, and when it may be worth upgrading to a thermal label printer.
Printing Shipping Labels on a Regular Printer
A regular printer can print shipping labels for most personal and small business needs. Inkjet and laser printers both work, provided the label is sharp, properly sized, and not faded or smudged. The carrier does not usually care what type of printer you use.
The label only needs to meet practical requirements. The barcode must scan, the address must be readable, and the label must stay attached during transit. If those conditions are met, a standard home or office printer is usually enough for everyday shipping.
How Regular Printer Shipping Labels Work
When you buy postage online, the shipping platform creates a label file, usually as a PDF. You download it, open it, and print it through your regular printer. The file includes the recipient address, sender address, barcode, service type, and tracking details.
You can print the label on plain paper or adhesive label sheets. Plain paper is cheaper and easy to find, while adhesive sheets look cleaner and save time. Both options can work well if the final label is flat, secure, and protected from moisture.
Quick Facts About Regular Printer Labels
- Inkjet printers can print shipping labels, but the ink may smear if it gets wet.
- Laser printers usually create sharper, more water-resistant labels.
- Plain paper labels must be taped carefully to the package.
- Adhesive half-sheet labels are convenient for frequent shipping.
- Barcodes should never be covered with wrinkled or cloudy tape.
- Most carriers accept labels printed from a standard home printer.
- A 4 x 6 label is the most common size for shipping platforms.
Best Paper Options for Shipping Labels
Plain copy paper is the simplest option. Print the label, cut it to size, place it on the package, and cover it with clear packing tape. This method is inexpensive and practical when you only ship occasionally or need to print a return label quickly.
Adhesive label paper is better for a cleaner finish. Many sellers use 8.5 x 11 sheets with two labels per page. These half-sheet labels stick directly to boxes and mailers, reducing cutting and taping while giving packages a more professional appearance.
Plain Paper Versus Adhesive Labels
Plain paper works best when you ship only a few packages a month. It keeps costs low and does not require special supplies. The downside is the extra time spent cutting, positioning, and taping each label onto the package.
Adhesive labels are more efficient when shipping becomes routine. They reduce handling time and lower the risk of tape covering important label details. If you sell through marketplaces, half-sheet adhesive labels are often the easiest upgrade before buying a dedicated label printer.
Comparison Table: Plain Paper and Adhesive Labels
Option | Best For | Main Benefit | Main Drawback
Plain copy paper | Occasional shipping | Very low cost | Requires cutting and tape
Half-sheet labels | Small online sellers | Faster application | Costs more than paper
Full-sheet labels | Custom label layouts | Flexible sizing | More trimming may be needed
Thermal labels | High-volume shipping | No ink or toner | Requires a label printer
Printer Settings That Help Labels Scan
Use the highest practical print quality setting when printing shipping labels. Standard quality may work, but high quality gives barcodes cleaner edges and makes small text easier to read. Avoid draft mode because it can create faded lines and weak barcode contrast.
Set scaling to 100 percent or “actual size” whenever possible. Shrinking or stretching the label can make the barcode harder to scan. If your label platform offers a 4 x 6 format, make sure your print settings match the paper or label sheet you are using.
Inkjet and Laser Printer Differences
Inkjet printers are common in home offices and can produce good labels. The biggest concern is moisture. If rain, condensation, or wet hands touch the label, the ink may smear. Clear tape or a label pouch can help protect inkjet-printed labels.
Laser printers use toner, which bonds to the paper with heat. This often makes labels sharper and more resistant to smudging. For people who print shipping labels regularly but do not want a thermal printer, a laser printer is usually a strong choice.
Checklist Before Printing a Shipping Label
- Confirm the shipping address is complete and spelled correctly.
- Check that the package weight and dimensions are accurate.
- Select the correct carrier service before buying postage.
- Set the printer to actual size or 100 percent scale.
- Print a test label if you changed paper or printer settings.
- Make sure the barcode is dark, clean, and not distorted.
- Attach the label to the largest flat side of the package.
How to Attach a Paper Shipping Label
After printing on regular paper, trim away extra margins so the label fits neatly on the package. Place it on a flat surface of the box or mailer. Avoid edges, corners, seams, and areas that may bend during handling.
Use clear packing tape around all edges so the label cannot peel off. You may tape over the address area if the print remains readable. Be careful with the barcode. Wrinkles, bubbles, and glare from thick tape can interfere with scanning.
Protecting Labels From Rain and Damage
Shipping labels often pass through trucks, sorting facilities, porches, and mailrooms. Moisture and abrasion can damage a poorly protected label. If you use inkjet printing, protection matters even more because water can blur the barcode and address.
A clear label pouch, packing tape, or adhesive label sheet can reduce that risk. The goal is to keep the label flat and readable until delivery. For valuable shipments, take a photo of the attached label before drop-off as a simple record.
Common Mistakes to Avoid
- Printing in draft mode, which can make barcodes too light.
- Scaling labels smaller than the carrier’s recommended size.
- Placing labels across box seams or curved package surfaces.
- Covering barcodes with wrinkled or dirty tape.
- Using low ink or toner that creates faded text.
- Reusing old boxes without removing previous barcodes.
- Guessing weight, which can cause postage problems later.
Carrier Rules for Home-Printed Labels
Most major carriers allow customers to print shipping labels at home. USPS, UPS, FedEx, and DHL all support online label creation through their websites or approved shipping platforms. The printed label must be clear and match the postage purchased.
Carrier rules can vary by service type, destination, and shipment category. International shipments may require customs forms, extra pages, or commercial invoices. If you ship internationally, review the instructions on the label platform before sealing the package.
Printing Labels for Online Marketplaces
Marketplaces such as eBay, Etsy, Amazon, Shopify, and other selling platforms usually make label printing simple. After an order is ready, you buy postage through the platform and download or print the label directly from your seller dashboard.
Many platforms also offer discounted shipping rates and preset label sizes. If you ship often, it is worth setting your default label format to match your printer supplies. For more setup help, see [Internal Link: Shipping Label Setup for Online Stores].
Tips for Cleaner Marketplace Label Printing
- Save label files as PDFs before printing important orders.
- Use the same label size consistently to avoid setting changes.
- Keep sender address details updated in your seller account.
- Print packing slips separately if the platform includes them.
- Batch labels only after confirming each order is ready.
- Store label sheets flat so they feed cleanly through the printer.
- Reprint labels immediately if the barcode looks broken or faint.
Regular Printer Label Sizes
The most common shipping label size is 4 x 6 inches. This size fits most carrier labels and works well on boxes, padded mailers, and poly mailers. Thermal printers use this size often, but regular printers can print it too.
For standard printers, many people use 8.5 x 11 paper with either one full-page label or two half-sheet labels. If your platform offers multiple formats, choose the one that matches your supplies instead of resizing manually each time.
When a 4 x 6 Label Makes Sense
A 4 x 6 label is compact, clean, and widely supported by shipping software. It keeps the barcode and address in a carrier-friendly layout. Even when printed on regular paper, you can cut the label down and attach it neatly.
This size is especially useful for small parcels and mailers. Large full-page labels can look awkward on smaller packages and may wrap around edges. A properly sized 4 x 6 label keeps all important information on one flat surface.
Costs of Printing Shipping Labels at Home
Printing labels at home can save time and money compared with visiting a carrier counter. You can buy postage online, compare rates, and prepare packages before drop-off. For occasional shippers, using an existing printer keeps startup costs very low.
Your main costs are paper, ink or toner, tape, and label sheets if you use them. Inkjet printing may cost more per label over time. Laser printing often has a lower cost per page, especially for black-and-white shipping labels.
Key Benefits of Printing Labels at Home
- You can prepare shipments at any hour.
- Online postage may include discounted carrier rates.
- Addresses are printed clearly instead of handwritten.
- Tracking numbers are created immediately.
- Drop-off is faster when the package is already labeled.
- Return labels can be printed without visiting a store.
- Small businesses can process orders more consistently.
When to Use a Thermal Label Printer
A thermal label printer is not required, but it can be useful when shipping volume increases. Thermal printers use heat-sensitive labels, so they do not need ink or toner. They print quickly and produce labels in the standard 4 x 6 size.
If you ship daily, the time savings can be noticeable. Thermal labels are easy to peel and apply, and they look professional. The tradeoff is upfront cost, plus the need to keep thermal label rolls or fanfold labels in stock.
Regular Printer Versus Thermal Printer
A regular printer is flexible because it can print documents, forms, packing slips, and labels. That makes it a better all-purpose choice for home use. It is also practical when you only print labels occasionally.
A thermal printer is more specialized. It is built for labels and does that job efficiently. For sellers handling many packages each week, the convenience may justify the cost. For casual shipping, a regular printer is still a sensible option.
Printer Choice by Shipping Volume
Shipping Volume | Recommended Printer | Reason
1 to 10 labels per month | Regular inkjet or laser printer | Lowest setup cost
10 to 50 labels per month | Laser printer or adhesive sheets | Cleaner and faster workflow
50 to 200 labels per month | Thermal label printer | Saves time and supplies
200+ labels per month | Commercial thermal setup | Better speed and consistency
How to Print a Shipping Label Step by Step
First, create or purchase the label through your carrier, marketplace, or shipping software. Confirm the shipment details before buying postage. Package weight, dimensions, address, and service type should all be correct before you print.
Next, download the label file and open it as a PDF. Choose the correct printer, paper size, and scale setting. Print the label, inspect the barcode, then attach it securely to the package. Keep the receipt or tracking number for your records.
Testing Label Quality Before Drop-Off
A quick quality check can prevent delivery delays. Look at the barcode closely. It should have crisp black lines, clean spacing, and no streaks. The address should be easy to read without guessing letters or numbers.
If the label looks faded, replace the ink or toner and print again. If the paper fed crookedly, reprint on a fresh sheet. A few extra seconds at this stage are better than having a package rejected or delayed in transit.
Practical Label Quality Tips
- Print in black and white unless the carrier requires color.
- Replace cartridges before labels become pale or streaky.
- Keep printer rollers clean to prevent smears and misfeeds.
- Use fresh paper that is not curled or damp.
- Let inkjet labels dry before taping or handling.
- Avoid glossy tape directly over barcodes when glare is heavy.
- Keep backup label sheets for urgent shipments.
Using Tape Without Blocking the Barcode
Tape is useful, but it needs to be applied carefully. The safest method is to tape the label edges and leave the barcode uncovered. This keeps the label secure while reducing the chance of scan problems from glare or wrinkles.
If you must cover the full label, use smooth, clear packing tape. Apply it slowly from one side to the other to avoid bubbles. Do not use frosted tape, duct tape, or colored tape over any address, tracking number, or barcode.
Label Placement on Boxes and Mailers
Place the label on the largest flat surface of the package. For boxes, that is usually the top. For poly mailers and padded envelopes, choose the smoothest side and press out air pockets before attaching the label.
Do not place labels over seams, flaps, straps, or corners. Sorting machines and handlers need a flat scan area. If the package is small, choose a smaller label format rather than folding the barcode around an edge.
Important Placement Rules
- Keep the full barcode on one flat surface.
- Remove or cover old labels and barcodes.
- Do not fold the label around package corners.
- Avoid placing labels under straps or tape bands.
- Put the label where it will not be scraped easily.
- Make sure the return address is visible.
- Press adhesive labels firmly along every edge.
Printing Return Shipping Labels
Return labels can also be printed on a regular printer. Many retailers provide a PDF label by email or through a returns portal. You can print it on plain paper, attach it to the package, and drop it off as instructed.
Before printing, check whether the return label has an expiration date or carrier-specific instructions. Some returns require the original packaging, a return authorization slip, or a barcode shown at a store instead of a printed label.
Handling International Shipping Labels
International labels may include customs information, item descriptions, harmonized codes, values, and multiple forms. A regular printer can print these documents, but you need to follow the platform’s instructions carefully so every required page is included.
Some carriers require customs forms to be placed in a clear pouch on the outside of the package. Others use electronic customs data and only need one label. When in doubt, read the carrier instructions before drop-off.
International Shipping Label Checklist
- Confirm the destination address format.
- Include accurate item descriptions and values.
- Print all customs pages provided by the carrier.
- Sign forms if the label instructions require it.
- Use a clear pouch when documents must remain accessible.
- Keep copies of commercial invoices for your records.
- Check restricted items before buying postage.
Troubleshooting Printing Problems
If the label prints too small, check the scale setting. Choose actual size or 100 percent instead of fit to page. If part of the label is missing, confirm that the selected paper size matches the file and printer tray.
If the barcode is blurry, try a higher print quality setting or replace ink or toner. For adhesive sheets, make sure the sheet layout matches the label template. Misaligned labels usually come from using the wrong format or printer margin settings.
When a Carrier Rejects a Label
A carrier may reject a package if the label cannot be scanned, the postage is incorrect, or the package does not match the purchased service. This can happen with any printer if the label is damaged or the shipment details are wrong.
If a label is rejected, reprint it if the postage is still valid and the shipment details are correct. If the weight, dimensions, or service are wrong, you may need to void the label and buy a new one.
Helpful Tools for Better Label Printing
Shipping software can make home label printing easier. Many tools compare carrier rates, save sender details, store package presets, and support batch printing. This reduces repetitive work and helps avoid mistakes when shipping multiple orders.
A basic shipping scale is also worth having. Accurate weight prevents underpaid postage and surprise adjustments. If you sell products online, pairing a regular printer with a scale and half-sheet labels is often enough for a reliable workflow. See [Internal Link: Best Shipping Tools for Small Business].
Conclusion
Printing shipping labels at home does not have to be complicated or expensive. A regular inkjet or laser printer can produce carrier-approved labels when the print is sharp, the barcode is scannable, and the label is attached securely. Plain paper works for occasional shipping, while adhesive sheets make the process faster and cleaner.
The key is paying attention to small details. Use the correct label size, print at actual scale, avoid draft mode, protect the label from moisture, and place it on a flat area of the package. If you ship often, a thermal printer may eventually save time, but it is not required for getting started. For most home users, online sellers, and return shipments, the answer to can you print shipping labels on a regular printer is yes, as long as you print and attach the label correctly.
FAQ
Can I print a shipping label on normal paper?
Yes, normal copy paper works for shipping labels. Print the label clearly, cut it to size, and attach it with clear packing tape. Keep the barcode flat, readable, and free from wrinkles.
Do shipping labels need to be printed in color?
Most shipping labels do not need color. Black-and-white printing is usually preferred because it gives strong barcode contrast. Use color only if the carrier or platform specifically requires it.
Can I tape over a printed shipping label?
You can tape over parts of a shipping label, but avoid wrinkling tape over the barcode. Smooth, clear packing tape is best. If glare causes scanning issues, tape only the edges.
What printer setting is best for shipping labels?
Use actual size or 100 percent scale with normal or high print quality. Avoid draft mode. The label should print dark, sharp, and complete without shrinking, stretching, or cutting off details.
Is a thermal printer better than a regular printer?
A thermal printer is faster and does not use ink or toner, making it better for frequent shipping. A regular printer is still fine for occasional labels, returns, and small online shops.