
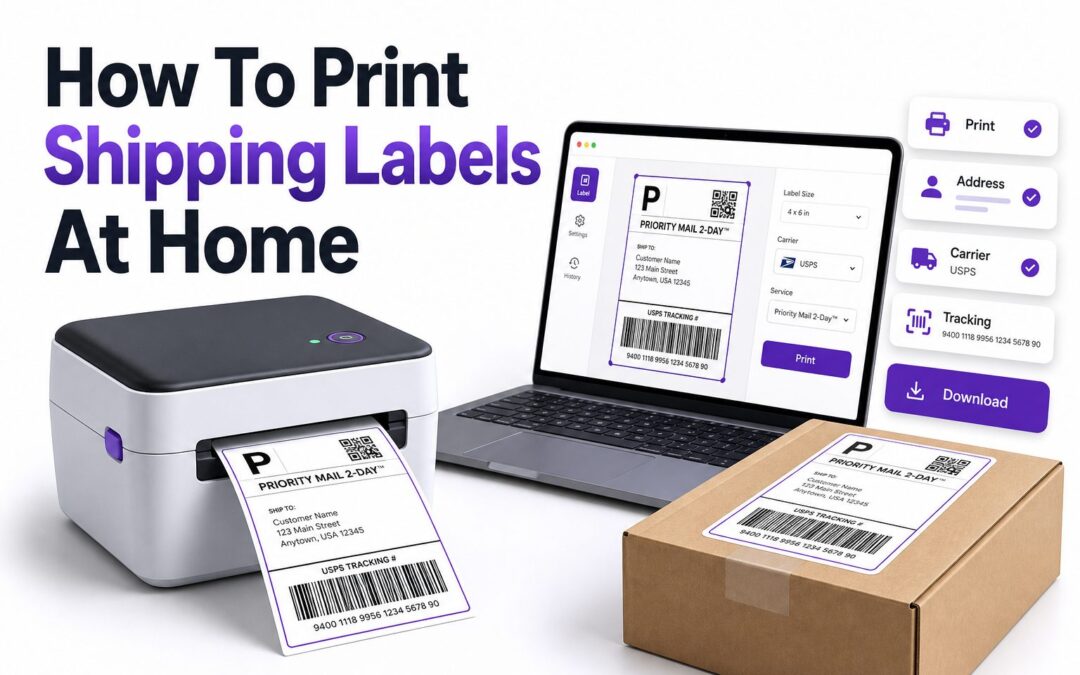
Printing your own shipping labels can save time, reduce mistakes, and make mailing packages much easier. Whether you sell products online, send gifts to family, or manage returns, learning how to print shipping labels at home gives you more control over the entire shipping process. You do not need a warehouse setup or expensive equipment to get started.
Most carriers and online marketplaces now make label creation simple. You can buy postage online, enter package details, download the label, and print it within minutes. The key is knowing which printer, paper, label size, and settings to use. Once you set up a reliable process, home label printing becomes faster than standing in line at the post office or shipping counter.
Why Printing Shipping Labels at Home Makes Sense
Printing labels at home is convenient because you can prepare packages whenever it fits your schedule. You can weigh items, compare shipping options, pay for postage, and print labels without leaving the house. This is especially useful for small business owners and frequent online sellers.
Home label printing can also reduce handwriting errors and improve package scanning. A clean barcode and accurate address help carriers process shipments faster. When labels are printed correctly, packages are less likely to face delays caused by unreadable addresses, damaged labels, or missing postage.
What You Need Before Printing Labels
The basic setup includes a printer, internet access, shipping label paper or regular paper, packaging tape, and a way to measure package weight and dimensions. A digital scale is strongly recommended because accurate weight affects postage costs and delivery reliability.
You will also need a carrier website, marketplace shipping portal, or shipping software account. USPS, UPS, FedEx, and many ecommerce platforms allow users to create labels online. If you ship often, a dedicated shipping platform can help organize orders, addresses, tracking numbers, and postage payments.
Basic Home Shipping Label Checklist
- Printer with enough ink, toner, or thermal label capacity
- Shipping label paper, adhesive labels, or plain printer paper
- Digital postal scale for accurate package weight
- Measuring tape or ruler for package dimensions
- Carrier account, marketplace account, or shipping software
- Strong packaging tape for boxes and label protection
- Clear return address and recipient information
- Stable internet connection for buying postage and downloading labels
Choosing the Right Printer for Shipping Labels
Inkjet printers can print shipping labels clearly, but the ink may smudge if it gets wet. They work well for occasional shipments, especially when paired with good paper and careful taping. If you already own one, you can start without buying extra equipment.
Laser printers produce sharp text and barcodes, making them a strong option for home offices. Toner is more resistant to moisture than ink, and pages print quickly. For people who ship weekly, a laser printer often gives better consistency than a basic inkjet model.
Using a Thermal Label Printer
Thermal printers are popular with online sellers because they print directly on adhesive labels without ink or toner. They are fast, clean, and designed for standard shipping label sizes. The upfront cost is higher, but the running cost can be lower over time.
A thermal printer is most useful when you ship multiple packages per week. It reduces cutting, taping, and paper waste. Many shipping platforms support common 4 x 6 label formats, which makes thermal printing practical for USPS, UPS, FedEx, and marketplace orders.
Printer Comparison for Home Shipping Labels
Printer Type | Best For | Pros | Cons
Inkjet Printer | Occasional shipping | Low startup cost, common at home | Ink can smudge, slower printing
Laser Printer | Regular home office use | Sharp barcodes, fast output | Higher printer cost, uses toner
Thermal Printer | Frequent sellers | No ink, adhesive labels, fast workflow | Best with label rolls or stacks
Best Label Sizes for Home Shipping
The most common shipping label size is 4 x 6 inches. This size is widely accepted by major carriers and fits well on poly mailers, boxes, and padded envelopes. Thermal label printers usually use this format as their default shipping label size.
If you use a standard desktop printer, you can print labels on full-sheet paper or two-label-per-sheet adhesive paper. Full-page labels may include instructions or receipts, so always trim or fold only as directed. The barcode and address must remain flat and fully visible.
Paper Options for Shipping Labels
Adhesive shipping labels are the cleanest option because they stick directly to the package. They reduce taping time and help create a professional look. You can buy labels in sheet form for regular printers or rolls and fanfold stacks for thermal printers.
Plain printer paper also works if you attach it securely with clear packing tape. Avoid covering the barcode with tape if the carrier warns against glare. If tape is necessary, keep it smooth, flat, and free of wrinkles that could interfere with scanning.
Label Paper Buying Tips
- Use 4 x 6 adhesive labels for thermal printers
- Choose half-sheet labels for regular desktop printers
- Keep labels dry before and after printing
- Avoid glossy paper unless your printer supports it well
- Test one label before printing a batch
- Store label rolls away from heat and sunlight
- Check marketplace or carrier label size settings before printing
How to Create a Shipping Label Online
Start by choosing your carrier or shipping platform. Enter the sender address, recipient address, package weight, package dimensions, shipping service, and any delivery options. Review everything carefully before paying because small errors can affect delivery or postage accuracy.
After payment, the system usually generates a PDF or printable label file. Download the label and save it temporarily until the package is shipped. If you manage several orders, use clear file names or rely on your platform’s order history to avoid mixing labels.
Using Carrier Websites
Carrier websites are useful when you ship directly through USPS, UPS, FedEx, or another provider. They let you select services, schedule pickups, and track shipments. Some carrier accounts may also offer saved addresses, shipment history, and business tools for repeat users.
The process is usually simple, but each carrier uses slightly different terms for package types and services. Before buying postage, confirm whether you are shipping a box, envelope, padded mailer, or flat-rate package. Choosing the wrong category can lead to extra charges.
Using Marketplace Shipping Tools
Marketplaces such as Etsy, eBay, Shopify, and Amazon often include built-in shipping label tools. These tools pull order details automatically, which saves typing and reduces address errors. They may also provide commercial shipping rates depending on the platform and carrier.
Marketplace tools are especially helpful for sellers handling several orders at once. You can print packing slips, labels, and tracking details from one dashboard. For related setup advice, see [Internal Link: ecommerce shipping setup] to build a more organized shipping workflow.
Step-by-Step Label Printing Process
1. Pack the item securely before measuring weight and size
2. Weigh the complete package, including box and packing material
3. Measure length, width, and height accurately
4. Enter sender and recipient details online
5. Select the correct carrier service
6. Pay for postage and download the label
7. Print using the correct label size
8. Attach the label flat on the largest package surface
9. Save the tracking number
10. Drop off the package or schedule pickup
Printer Settings That Prevent Label Problems
Printer settings matter more than many people expect. A label that looks fine on screen can print too small, too large, blurry, or cropped if the settings are wrong. Always choose actual size or 100 percent scale unless the carrier gives different instructions.
For thermal printers, confirm that the label size is set to 4 x 6 inches. For regular printers, select the matching paper size and orientation. Turn off settings such as fit to page if they shrink the barcode or distort the label layout.
Checking Barcode Quality
A shipping label barcode must be crisp, complete, and easy to scan. If the barcode is faded, streaky, cut off, or distorted, reprint the label before sending the package. A poor barcode can slow down acceptance, tracking updates, and delivery processing.
Keep the barcode away from package edges, seams, tape folds, and curved surfaces. Place it on the largest flat area of the package. If you use a poly mailer, smooth out wrinkles before attaching the label so the barcode remains readable.
Common Printing Mistakes to Avoid
One common mistake is printing at the wrong scale. If the label shrinks or stretches, scanners may struggle to read the barcode. Always preview the label and check that all edges, addresses, tracking details, and barcode lines are fully visible.
Another mistake is placing the label over a box edge or mailer crease. Labels should sit flat and clean. Avoid taping over thermal labels because heat-sensitive material and adhesive can react poorly, especially during warm weather or long storage.
Quick Quality Check Before Shipping
- Address is spelled correctly
- Return address is visible
- Barcode is sharp and complete
- Label is printed at the correct size
- Package weight matches purchased postage
- Label is attached flat, not folded
- Old labels and barcodes are removed
- Tracking number is saved
- Carrier service matches the package type
How to Attach Labels to Packages
For adhesive labels, peel the backing and place the label on the largest flat surface of the package. Press firmly from the center outward to remove air bubbles. Make sure the edges are sealed so the label does not lift during transit.
For plain paper labels, trim the label neatly and attach it with clear packing tape. Tape all edges securely so moisture cannot get underneath. Do not wrinkle the paper or cover important scan areas with thick layers of tape.
Shipping Labels on Boxes
Boxes are usually the easiest packages to label because they have firm, flat surfaces. Place the label on the top of the box when possible. Keep it away from corners, seams, tape lines, and areas that may bend during handling.
If you reuse a box, remove or cover every old barcode and shipping label. Multiple barcodes can confuse automated sorting systems. Old hazardous material markings, brand labels, or routing stickers should also be removed when they do not apply.
Shipping Labels on Poly Mailers
Poly mailers are lightweight and affordable, but they can wrinkle easily. Before attaching the label, flatten the mailer and avoid placing the label where the contents create bumps. A smooth label surface improves scanning and makes the package look cleaner.
If the mailer is small, make sure the label does not wrap around the edges. Use a larger mailer when needed. For sellers, properly sized mailers can reduce label damage, improve presentation, and lower the chance of carrier handling issues.
Best Practices for Attaching Labels
- Use the largest flat package surface
- Keep labels away from seams and corners
- Remove old shipping labels from reused boxes
- Do not fold barcodes around package edges
- Smooth wrinkles before mailing
- Use waterproof label pouches for international paperwork when required
- Avoid placing labels under straps, string, or loose packaging
Weighing and Measuring Packages Correctly
Accurate weight is essential when you print postage at home. Always weigh the fully packed item, not just the product. Boxes, tape, inserts, bubble wrap, and promotional materials all add weight, and even small differences can change the shipping price.
Dimensions also matter, especially for larger boxes. Carriers may use dimensional weight when a package takes up more space than its actual weight suggests. Measure the longest side, width, and height after the package is sealed, then round as required by the carrier.
Why Package Accuracy Saves Money
Correct weight and dimensions help you avoid underpaid postage, returned packages, and adjustment fees. Carriers can remeasure packages during transit. If the label does not match the shipment, you may be billed later or experience delivery delays.
Accuracy can also prevent overpaying. Many people guess too high because they want to be safe, but this adds unnecessary cost over time. A reliable postal scale often pays for itself quickly if you ship regularly from home.
Carrier Options for Home Label Printing
USPS is commonly used for small packages, lightweight items, and residential deliveries. It offers pickup options in many areas and works well for ecommerce sellers. Flat-rate packaging can be convenient when the item is heavy but fits within approved packaging.
UPS and FedEx are often strong choices for heavier packages, business addresses, and certain time-sensitive shipments. Prices vary based on distance, size, weight, and service level. Comparing carriers before buying postage can help you choose the best balance of cost and speed.
Shipping Software and Rate Comparison
Shipping software can compare rates across carriers, print labels in batches, and keep tracking information organized. This is useful if you sell through several channels or handle repeat shipments. Many platforms also store customer addresses and shipment history for faster processing.
Some tools connect directly with ecommerce platforms and marketplaces. They can import orders, apply shipping presets, and send tracking updates automatically. For more help choosing a setup, visit [Internal Link: shipping software for small business] for practical platform considerations.
Carrier Selection Tips
- Use USPS for many lightweight residential packages
- Compare UPS and FedEx for heavier boxes
- Check flat-rate packaging only when it truly saves money
- Review delivery speed before choosing the cheapest option
- Confirm pickup availability in your area
- Use tracking for valuable or customer-facing shipments
- Consider insurance for fragile or expensive products
Printing Labels for Returns
Return labels are helpful when customers need to send products back or when you are mailing items to a repair center. Many retailers provide a prepaid return label as a PDF. You can print it at home and attach it like any other shipping label.
If you create your own return label, confirm the return address and carrier service before printing. Some labels are prepaid, while others require payment at drop-off. Read the return instructions carefully because using the wrong carrier can cause delays or rejected packages.
International Shipping Label Basics
International shipments often require more than a standard shipping label. You may need customs forms, item descriptions, country of origin, declared value, and harmonized tariff details. The exact requirements depend on the destination country, carrier, and type of goods being shipped.
Print every required page and attach documents according to carrier instructions. Some carriers combine customs information with the label, while others require a pouch. Be accurate and honest with descriptions and values because customs delays can be costly and frustrating.
International Shipping Checklist
- Full recipient name and international address
- Destination country written clearly
- Accurate item description
- Declared value for customs
- Country of origin when required
- Correct package weight and dimensions
- Required customs forms printed
- Commercial invoice included when needed
- Restricted item rules checked before shipping
How to Save Money When Printing Labels at Home
Buying postage online may give access to discounted rates compared with paying at a retail counter. Discounts depend on the platform, carrier, volume, and shipment type. Even modest savings can add up if you ship several packages each month.
You can also save by choosing the right packaging. Oversized boxes, unnecessary padding, and heavy materials increase shipping costs. Keep a small range of box and mailer sizes at home so each item fits securely without creating extra billable weight.
Reducing Waste in Your Label Workflow
Printing labels at home can create paper waste if your setup is inefficient. Thermal 4 x 6 labels reduce unused paper because each label prints in its final size. Half-sheet adhesive labels can also work well for desktop printers.
Before printing batches, test one label and confirm the layout. Reprints waste paper, labels, and time. If your platform includes packing slips, decide whether you truly need them for every shipment or only for orders where they add value.
Cost-Saving Ideas for Home Shippers
- Compare rates before buying postage
- Use packaging that fits the product closely
- Keep common box sizes on hand
- Avoid guessing package weight
- Print test labels when changing settings
- Buy labels in bulk if you ship often
- Reuse clean boxes after removing old barcodes
- Choose slower services when delivery time is flexible
Conclusion
Printing shipping labels at home is a practical skill for anyone who mails packages regularly. With a dependable printer, accurate scale, proper label paper, and careful package measurements, you can prepare shipments faster and with fewer errors. The process becomes simple once you know how to create the label, print it at the correct size, check barcode quality, and attach it securely.
The biggest advantage is control. You can compare carrier services, buy postage online, save tracking details, and prepare packages on your own schedule. For sellers, that means a smoother fulfillment process and a more professional customer experience. For personal shipping, it means less waiting and fewer last-minute trips.
If you want reliable results, focus on accuracy, clean printing, and proper placement. Those basics matter more than fancy equipment. Once your setup is ready, how to print shipping labels at home becomes a quick routine rather than a frustrating task.
Frequently Asked Questions
Can I print a shipping label with a regular printer?
Yes, a regular inkjet or laser printer can print shipping labels. Use plain paper with packing tape or adhesive label sheets. Make sure the label prints at the correct size and the barcode stays sharp.
Do I need special paper for shipping labels?
Special paper is not required, but adhesive shipping labels make the process cleaner and faster. Plain paper works when attached securely with clear tape, as long as the barcode remains flat and readable.
What size should a shipping label be?
The standard shipping label size is usually 4 x 6 inches. Many carriers also allow labels printed on standard letter paper. Always follow the size shown by the carrier or marketplace label settings.
Can I print shipping labels without postage?
You can print an address label without postage, but a carrier shipping label usually includes paid postage. If postage is missing, you will need to pay before the package can be accepted and shipped.
Where should I put the label on a package?
Place the label on the largest flat surface of the package. Keep it away from edges, seams, corners, and wrinkles. The barcode should be fully visible, smooth, and easy for carrier scanners to read.